

koala73/worldmonitorConnectors
Real-time global intelligence dashboard. AI-powered news aggregation, geopolitical monitoring, and infrastructure tracking in a unified situational awareness interface
86k
AgentQL MCP Server connects an agent to AgentQL’s web extraction API through MCP. Once configured, your agent can call the `extract-web-data` tool to pull structured fields from a page based on a prompt.
Builders who want their agent to extract structured data from websites.
You can ask your agent for clean, structured web data instead of copying and parsing pages yourself.
Provides `extract-web-data`, which takes a URL and a prompt describing the fields to extract.
Runs as a Model Context Protocol server that slots into MCP-capable apps.
Includes setup steps for Claude Desktop, VS Code, Cursor, and Windsurf.
Uses `AGENTQL_API_KEY` to authenticate requests to AgentQL.
Includes build, watch, and inspector commands for running and debugging the server.
npm install -g agentql-mcp
Extract the list of videos from the page https://www.youtube.com/results?search_query=agentql, every video should have a title, an author name, a number of views and a url to the video. Make sure to exclude ads items. Format this as a markdown table.
This is a Model Context Protocol (MCP) server that integrates AgentQL's data extraction capabilities.
extract-web-data - extract structured data from a given 'url', using 'prompt' as a description of actual data and its fields to extract.To use AgentQL MCP Server to extract data from web pages, you need to install it via npm, get an API key from our Dev Portal, and configure it in your favorite app that supports MCP.
npm install -g agentql-mcp
⌘+, (don't confuse with Claude Account Settings)claude_desktop_config.json fileagentql server inside mcpServers dictionary in the config file{
"mcpServers": {
"agentql": {
"command": "npx",
"args": ["-y", "agentql-mcp"],
"env": {
"AGENTQL_API_KEY": "YOUR_API_KEY"
}
}
}
}
Read more about MCP configuration in Claude here.
For one-click installation, click one of the install buttons below:

Click the install buttons at the top of this section for the quickest installation method. For manual installation, follow these steps:
Add the following JSON block to your User Settings (JSON) file in VS Code. You can do this by pressing Ctrl + Shift + P and typing Preferences: Open User Settings (JSON).
{
  "mcp": {
    "inputs": [
      {
        "type": "promptString",
        "id": "apiKey",
        "description": "AgentQL API Key",
        "password": true
      }
    ],
    "servers": {
      "agentql": {
        "command": "npx",
        "args": ["-y", "agentql-mcp"],
        "env": {
          "AGENTQL_API_KEY": "${input:apiKey}"
        }
      }
    }
  }
}
Optionally, you can add it to a file called .vscode/mcp.json in your workspace. This will allow you to share the configuration with others.
{
  "inputs": [
    {
      "type": "promptString",
      "id": "apiKey",
      "description": "AgentQL API Key",
      "password": true
    }
  ],
  "servers": {
    "agentql": {
      "command": "npx",
      "args": ["-y", "agentql-mcp"],
      "env": {
        "AGENTQL_API_KEY": "${input:apiKey}"
      }
    }
  }
}
env AGENTQL_API_KEY=YOUR_API_KEY npx -y agentql-mcpRead more about MCP configuration in Cursor here.
~/.codeium/windsurf/mcp_config.json directlyagentql server inside mcpServers dictionary in the config file{
"mcpServers": {
"agentql": {
"command": "npx",
"args": ["-y", "agentql-mcp"],
"env": {
"AGENTQL_API_KEY": "YOUR_API_KEY"
}
}
}
}
Read more about MCP configuration in Windsurf here.
Give your agent a task that will require extracting data from the web. For example:
Extract the list of videos from the page https://www.youtube.com/results?search_query=agentql, every video should have a title, an author name, a number of views and a url to the video. Make sure to exclude ads items. Format this as a markdown table.
[!TIP] In case your agent complains that it can't open urls or load content from the web instead of using AgentQL, try adding "use tools" or "use agentql tool" hint.
Install dependencies:
npm install
Build the server:
npm run build
For development with auto-rebuild:
npm run watch
If you want to try out development version, you can use the following config instead of the default one:
{
  "mcpServers": {
    "agentql": {
      "command": "/path/to/agentql-mcp/dist/index.js",
      "env": {
        "AGENTQL_API_KEY": "YOUR_API_KEY"
      }
    }
  }
}
[!NOTE] Don't forget to remove the default AgentQL MCP server config to not confuse Claude with two similar servers.
Since MCP servers communicate over stdio, debugging can be challenging. We recommend using the MCP Inspector, which is available as a package script:
npm run inspector
The Inspector will provide a URL to access debugging tools in your browser.
Sign in to join the discussion.
No comments yet. Be the first to say what this is good for.
Real-time global intelligence dashboard. AI-powered news aggregation, geopolitical monitoring, and infrastructure tracking in a unified situational awareness interface
High-performance code intelligence MCP server. Indexes codebases into a persistent knowledge graph — average repo in milliseconds. 158 languages, sub-ms queries, 99% fewer tokens. Single static binary, zero dependencies.
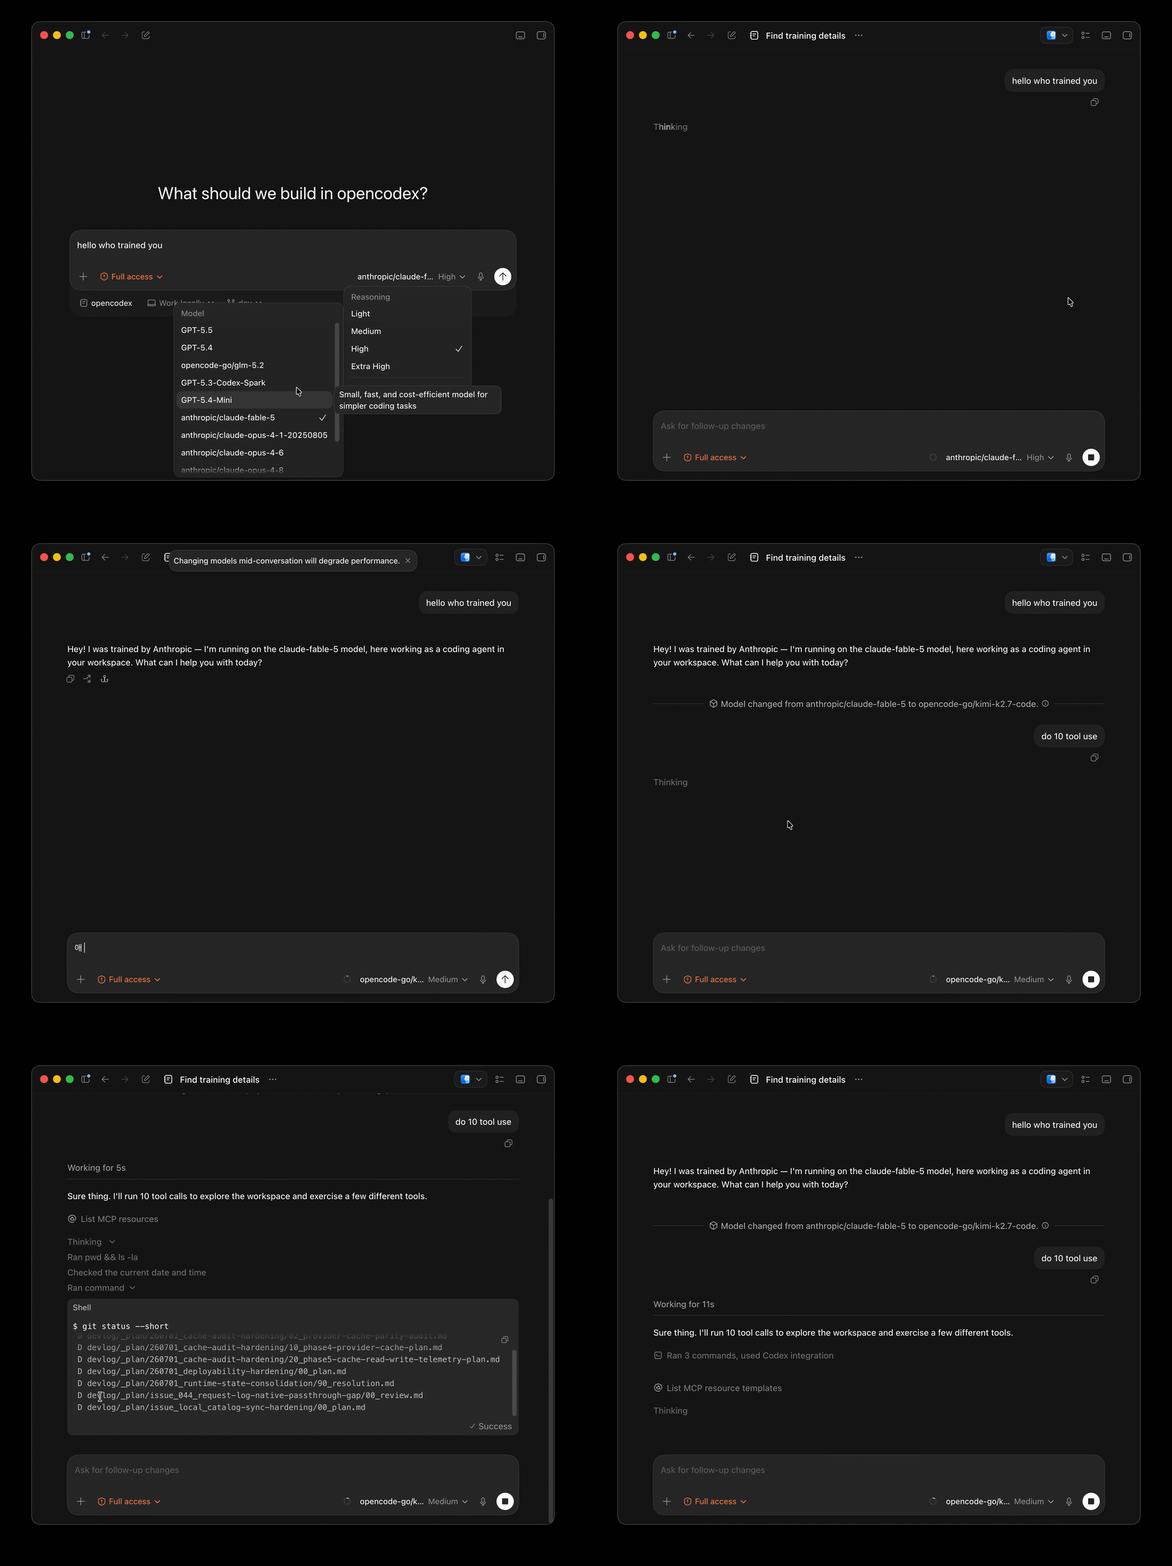
Universal provider proxy for OpenAI Codex & Claude Code — use any LLM (Claude, Gemini, Grok, DeepSeek, Ollama…) with Codex CLI, App, SDK, and Claude Code

Git-native persistent memory for AI coding agents. Implements Google OKF v0.2 with sub-300µs in-memory BM25 search, embedded MCP server, and progressive disclosure. Slashes token bloat by 80% with zero external databases or dependencies. Built in pure Go.

Stop your AI from making things up — it proposes, deterministic tools decide, every claim checked against ground truth with evidence. Grounded facts and context survive resets. Reverse engineering is the proving ground. MCP server + CLI.
20 MB lightweight cross-platform database client for 90+ databases, including MySQL, PostgreSQL, SQLite, Redis, MongoDB, DuckDB, SQL Server, and Dameng. Built-in AI, MCP Server, CLI, desktop and Docker. | 轻量级跨平台数据库管理工具,支持 MySQL、PostgreSQL、SQLite、Redis、MongoDB、达梦等 90+ 数据库,提供桌面端、Docker、CLI、内置 AI 助手和 MCP Server。