
koala73/worldmonitorConnectors
Real-time global intelligence dashboard. AI-powered news aggregation, geopolitical monitoring, and infrastructure tracking in a unified situational awareness interface
86k
Company Docs MCP ingests internal documents, creates searchable vectors, and serves answers through an MCP endpoint. It connects to Supabase for storage and Cloudflare Workers AI for embeddings, so your agent can search, cite, and answer from the docs you publish.
Builders who want Claude, Cursor, Windsurf, or another MCP client to answer from company docs.
You can ask questions in your agent and get answers grounded in your own documentation.
Reads markdown, HTML, PDFs, URLs, website crawls, and CSV URL lists, then publishes them to the database.
Exposes tools like `search_documentation`, `search_chunks`, `browse_by_category`, and `get_all_tags` to connected clients.
Lets people search docs from Slack with commands like `/docs deployment process`.
Serves a browser chat interface with search mode and optional AI chat mode.
Supports configurable embedding, vector store, chat, and cache providers through environment variables.
npm install company-docs-mcp
npx wrangler login
# Markdown (most common)
npx company-docs ingest markdown --dir=./docs

# Or from the cloned repo, for other formats:
npm run ingest -- html ./exported-page.html
npm run ingest -- pdf ./policy-document.pdf
npm run ingest -- url https://wiki.example.com/important-page
npx company-docs publish
npx company-docs publish --dry-run
git clone https://github.com/southleft/company-docs-mcp.git
cd company-docs-mcp
npm install
Turn any documentation into an AI-searchable knowledge base. Feed it markdown, HTML, PDFs, web pages, or plain text — publish to a database and let anyone on your team query it through AI tools like Claude, Cursor, or Slack. Powered by the Model Context Protocol.
There are two distinct roles when working with Company Docs MCP. Most people on your team only need the first one.
You just need a URL. No accounts, no installation, no terminal commands.
https://company-docs-mcp.example.workers.dev/mcp)That's it. Cloudflare, Supabase, and the CLI are only needed by the person who sets up and maintains the server.
The rest of this README is for you. Follow the setup guide below to get everything running.
The system uses three services. All three offer free tiers that are sufficient for most teams.
flowchart TD
    A["Your Content<br/>Markdown, HTML, PDFs, URLs"]
    B["Cloudflare Workers AI"]
    C[("Supabase")]
    D["Your Team<br/>Claude, Cursor, Slack, Chat UI"]
    E["Cloudflare Worker"]

    A -- "ingest + publish" --> B
    B -- "store vectors" --> C

    D -- "ask a question" --> E
    E -- "vector search" --> C
    C -. "matching docs" .-> E
    E -. "answers" .-> D

    style A fill:#f9f9f9,stroke:#333,color:#333
    style B fill:#dbeafe,stroke:#1d4ed8,color:#333
    style C fill:#d4edda,stroke:#155724,color:#333
    style D fill:#f0fdf4,stroke:#15803d,color:#333
    style E fill:#dbeafe,stroke:#1d4ed8,color:#333
| Service | What it does | Why it's needed |
|---|---|---|
| Cloudflare | Hosts your server and converts text into searchable vectors using its built-in AI | This is where your server runs 24/7 so your team can query docs at any time. It also handles the AI processing that makes semantic search possible — no separate AI subscription needed. |
| Supabase | Stores your documentation in a PostgreSQL database with vector search | Powers "smart" search — asking "how do I deploy?" will find documents about releases, CI/CD, and shipping, not just pages containing the word "deploy." |
| npm package | A command-line tool that ingests your content (markdown, HTML, PDFs, URLs) and publishes it to the database | You run this on your computer whenever you add or update documentation. |
No third-party AI API keys are required. Cloudflare provides the AI capabilities through its Workers AI service, which is included with every Cloudflare account at no extra cost.
Before starting, create free accounts on these two services:
That's it. No OpenAI, Anthropic, or Google API keys needed.
Follow these steps in order. Each one builds on the previous.
Open your terminal in the project where your documentation lives and run:
npm install company-docs-mcp
This downloads the CLI tool to your project. No external services are contacted yet.
Your documentation needs a database to store content and make it searchable.
https://abc123.supabase.co)eyJ)eyJ — keep this private)database/schema.sql, and click RunThis creates the database tables and search functions the system uses.
The schema file is included in the npm package at
node_modules/company-docs-mcp/database/schema.sql.
The CLI needs access to Cloudflare's AI service to convert your documentation into searchable vectors. The simplest way to connect is through the Wrangler CLI (Cloudflare's command-line tool, included with this package).
Run this command:
npx wrangler login
A browser window will open asking you to log in to your Cloudflare account and grant permission. Click Allow and return to your terminal.
You also need your Cloudflare Account ID:
That's the only Cloudflare setup needed for publishing. The CLI automatically detects the login credentials that wrangler login saved to your computer.
Token expiration: The login session expires periodically. If you see an authentication error when publishing, just run
npx wrangler loginagain.
Create a file called .env in your project root with these values:
# Supabase — where your documentation is stored
SUPABASE_URL=https://your-project.supabase.co
SUPABASE_ANON_KEY=eyJ...
SUPABASE_SERVICE_KEY=eyJ...

# Cloudflare — your Account ID (from Step 3)
CLOUDFLARE_ACCOUNT_ID=your-account-id
Replace the placeholder values with the ones you copied from Supabase (Step 2) and Cloudflare (Step 3).
Keep this file private. Never commit
.envto version control — it contains credentials. Add.envto your.gitignorefile.
The system accepts multiple content formats. Use whichever fits your workflow:
| Format | How to ingest | Best for |
|---|---|---|
| Markdown (.md) | npx company-docs ingest markdown --dir=./docs | Documentation you write and maintain as files |
| HTML (.html) | npm run ingest -- html ./file.html | Exported web pages, saved articles |
| PDF (.pdf) | npm run ingest -- pdf ./document.pdf | Policies, reports, specs in PDF format |
| URL (any web page) | npm run ingest -- url https://example.com/page | Live web content you want to index |
| Website crawl | npm run ingest:web -- --url=https://docs.example.com | Entire documentation sites |
| CSV of URLs | npm run ingest:csv -- urls.csv | Batch-importing many web pages at once |
Note: The
npx company-docsCLI (from the npm package) directly supports markdown ingestion and publishing. The other formats (HTML, PDF, URL, website crawl, CSV) are available when running from the cloned repository.
Markdown is the most common starting point. Create files in a directory — any folder structure works:
docs/
├── onboarding/
│   ├── new-hire-checklist.md
│   └── tools-and-access.md
├── engineering/
│   ├── deployment-guide.md
│   └── code-review-process.md
└── policies/
    ├── pto-policy.md
    └── expense-guidelines.md
You can optionally add YAML frontmatter to control how each document is categorized:
---
title: Deployment Guide
category: engineering
tags: [deploy, ci-cd, release]
description: How to deploy to production
---

# Deployment Guide

Your content here...
If you don't include frontmatter, the system will auto-detect a category and extract tags from the content.
Two steps turn your content into a searchable knowledge base:
Step 1 — Ingest (converts your content into structured entries):
# Markdown (most common)
npx company-docs ingest markdown --dir=./docs

# Or from the cloned repo, for other formats:
npm run ingest -- html ./exported-page.html
npm run ingest -- pdf ./policy-document.pdf
npm run ingest -- url https://wiki.example.com/important-page
Step 2 — Publish (pushes entries to the database with search vectors):
npx company-docs publish
What happens:
content/entries/ folder in your project.publish sends each entry to Cloudflare's AI to generate search vectors, then stores everything in your Supabase database. A content hash automatically skips entries that haven't changed, so re-running is fast.To preview what would be published without actually writing to the database:
npx company-docs publish --dry-run
Updating content: Whenever you change your source files, run both steps again. Only changed entries are re-processed.
The server is what runs 24/7 and handles search queries from your team's AI tools. It's deployed as a Cloudflare Worker.
git clone https://github.com/southleft/company-docs-mcp.git
cd company-docs-mcp
npm install
Edit wrangler.toml with your organization name:
name = "company-docs-mcp"
main = "src/index.ts"
compatibility_date = "2024-01-01"
compatibility_flags = ["nodejs_compat"]

[ai]
binding = "AI"

[vars]
ORGANIZATION_NAME = "Your Organization"
VECTOR_SEARCH_ENABLED = "true"
VECTOR_SEARCH_MODE = "vector"
The Worker caches recent search results to keep things fast. Run this command to create the cache:
npx wrangler kv namespace create CONTENT_CACHE
It will print an ID. Add it to wrangler.toml:
[[kv_namespaces]]
binding = "CONTENT_CACHE"
id = "the-id-that-was-printed"
These are stored securely as encrypted secrets — they never appear in plain text in the dashboard or config files.
echo "your-supabase-url" | npx wrangler secret put SUPABASE_URL
echo "your-anon-key" | npx wrangler secret put SUPABASE_ANON_KEY
echo "your-service-key" | npx wrangler secret put SUPABASE_SERVICE_KEY
Make sure you're logged in (you should be from Step 3 — if not, run npx wrangler login again), then:
npm run deploy
Your server is now live at https://company-docs-mcp.<your-subdomain>.workers.dev.
Share this URL with your team:
https://company-docs-mcp.<your-subdomain>.workers.dev/mcp
Claude: Settings > Connectors > Add custom connector > paste the URL.
Cursor / Windsurf / Other MCP clients: Add the URL as a remote MCP server in your client's settings.
Once connected, your AI tool will have access to these search tools:
| Tool | What it does |
|---|---|
search_documentation | Finds documentation that matches your question using semantic search |
search_chunks | Searches specific sections within documents |
browse_by_category | Lists all documentation in a category (categories come from frontmatter, the --category flag, or auto-detection) |
get_all_tags | Lists every tag used across your documentation |
Since Cloudflare appears in several steps, here's a plain-language summary of what it does and when:
| When | What Cloudflare does | How it's accessed |
|---|---|---|
| Publishing docs (Step 6) | Converts your text into numerical vectors that enable semantic search | CLI calls the Cloudflare REST API using your wrangler login credentials |
| Running the server (Step 7+) | Hosts the always-on server that your team queries; generates vectors for incoming questions | Built-in — no API keys needed at runtime |
Is Cloudflare optional? No — it's required for both publishing and hosting. However, the free tier is more than sufficient and no separate AI subscription is needed. The only setup required is creating an account and running npx wrangler login.
The default stack above (Cloudflare Workers + Workers AI + Supabase) is the recommended path and works out of the box. For organizations with existing infrastructure preferences, the backends are pluggable — each one resolves through a provider registry selected by environment variable:
| Seam | Env var | Ships with |
|---|---|---|
| Embeddings | EMBEDDING_PROVIDER | workers-ai (default), openai |
| Vector store | VECTOR_STORE | supabase (default) |
| Chat (optional demo/Slack only) | CHAT_PROVIDER | openai (default), anthropic |
| Cache | CACHE | kv (default with a KV binding), memory, none |
Adding a backend (e.g. a different vector database) means implementing one interface and registering it under an id — no core code changes. See src/providers/README.md for the contracts and docs/EMBEDDING_MIGRATION.md before switching embedding providers (that one requires re-embedding your content).
Note for MCP-first deployments: the chat provider only affects the optional web chat demo and Slack integration. MCP clients bring their own language model, so search quality depends only on the embedding provider and vector store.
These work anywhere via npx company-docs:
company-docs <command> [options]
| Command | Description |
|---|---|
ingest markdown | Parse markdown files into content/entries/ |
publish | Push entries to the database with AI-generated vectors |
ingest supabase | Same as publish |
manifest | Generate content/manifest.json (used during Worker deployment) |
These are available when running from the cloned repository:
| Command | Description |
|---|---|
npm run ingest -- html <file> | Ingest an HTML file |
npm run ingest -- pdf <file> | Ingest a PDF document |
npm run ingest -- url <url> | Ingest a single web page |
npm run ingest:csv -- <file> | Ingest URLs listed in a CSV file |
npm run ingest:web -- --url=<url> | Crawl and ingest an entire website |
| Option | Description | Default |
|---|---|---|
--dir, -d | Folder containing your markdown files | ./docs |
--category, -c | Category label for the content (overrides frontmatter) | documentation |
--recursive | Include files in subfolders | true |
--verbose, -v | Show detailed output | false |
| Option | Description |
|---|---|
--clear | Delete all existing data before publishing (start fresh) |
--dry-run | Preview what would change without writing to the database |
--verbose | Show detailed per-entry progress |
# Ingest markdown from different folders with different categories
npx company-docs ingest markdown --dir=./docs/engineering --category=engineering
npx company-docs ingest markdown --dir=./docs/policies --category=hr
npx company-docs publish

# Ingest a PDF and a web page (from cloned repo)
npm run ingest -- pdf ./policies/employee-handbook.pdf
npm run ingest -- url https://wiki.example.com/onboarding
npx company-docs publish

# Crawl an entire documentation site (from cloned repo)
npm run ingest:web -- --url=https://docs.example.com --max-pages=50

# Full re-publish from scratch
npx company-docs publish --clear

# Preview changes
npx company-docs publish --dry-run --verbose
Each markdown file can optionally include a YAML frontmatter block at the very top. The system reads these fields:
---
title: Page Title
category: engineering
tags: [deploy, ci-cd, release]
description: A short summary of this page
status: stable
version: 1.0.0
source: src/path/to/source.ts
figma: https://figma.com/...
author: Jane Smith
department: Engineering
---
| Field | Effect |
|---|---|
title | Used as the document title (overrides the first # Heading) |
category | Sets the browseable category for this document |
tags | Adds tags for filtering and discovery |
description | Stored as metadata, returned in search results |
status | Stored as metadata (e.g., draft, stable, deprecated) |
version | Stored as metadata |
source, figma, author, department | Stored as metadata, available in search results |
All fields are optional. If no frontmatter is present, the system auto-detects a category and extracts tags from the content.
Priority order: Frontmatter values take highest priority, followed by CLI flags (like --category), followed by auto-detection.
The system is designed for repeated runs — you don't need to start from scratch each time:
# Edit your content, then re-ingest and re-publish — only changes are processed
npx company-docs ingest markdown --dir=./docs
npx company-docs publish
The server includes a Slack slash command so team members can search documentation directly from Slack:
/docs deployment process
/docs PTO policy
/docs how to set up staging
See docs/SLACK_SETUP.md for setup instructions.
The server includes a web-based chat UI at its root URL (visit the Worker URL in a browser). It has two modes:
OPENAI_API_KEY).Customize the chat UI with environment variables in wrangler.toml:
[vars]
ORGANIZATION_NAME = "Your Organization"
ORGANIZATION_LOGO_URL = "https://example.com/logo.svg"
ORGANIZATION_TAGLINE = "Ask anything about our documentation"
See docs/BRANDING.md for full branding options.
By default, the system uses Cloudflare's Workers AI for embeddings (free, no extra keys). If your organization prefers OpenAI, you can switch:
OPENAI_API_KEY=sk-...
EMBEDDING_PROVIDER=openai
| Provider | Model | Dimensions | When to use |
|---|---|---|---|
| Workers AI (default) | @cf/baai/bge-large-en-v1.5 | 1024 | Default. No extra keys. Free on Cloudflare. |
| OpenAI | text-embedding-3-small | 1536 | If your organization already standardizes on OpenAI. |
Important: The embedding provider must match the database schema. The default schema.sql uses 1024 dimensions (Workers AI). If switching to OpenAI, change all vector(1024) to vector(1536) in the schema before running it.
No results from search
npx company-docs publish completed without errors.env has the correct Supabase credentialsnpx company-docs publish --dry-run to see what entries existAuthentication error when publishing
wrangler login session may have expired — run npx wrangler login againCLOUDFLARE_ACCOUNT_ID is set in your .envDuplicate entries
npx company-docs ingest markdown followed by npx company-docs publish — duplicates are cleaned up automaticallyMCP client not connecting
/mcp path in the URL (not just the root URL)Wrangler login not working
CLOUDFLARE_API_TOKEN set in your environment or .env file, it can interfere with the login flow. Remove or comment it out, then try npx wrangler login again..env files — they contain credentialsSUPABASE_SERVICE_KEY has full database access — keep it privateSUPABASE_ANON_KEY is restricted by Row Level Security policies (read-only)MIT — see LICENSE for details.
Issues and pull requests are welcome at github.com/southleft/company-docs-mcp.
Sign in to join the discussion.
No comments yet. Be the first to say what this is good for.
Real-time global intelligence dashboard. AI-powered news aggregation, geopolitical monitoring, and infrastructure tracking in a unified situational awareness interface
High-performance code intelligence MCP server. Indexes codebases into a persistent knowledge graph — average repo in milliseconds. 158 languages, sub-ms queries, 99% fewer tokens. Single static binary, zero dependencies.
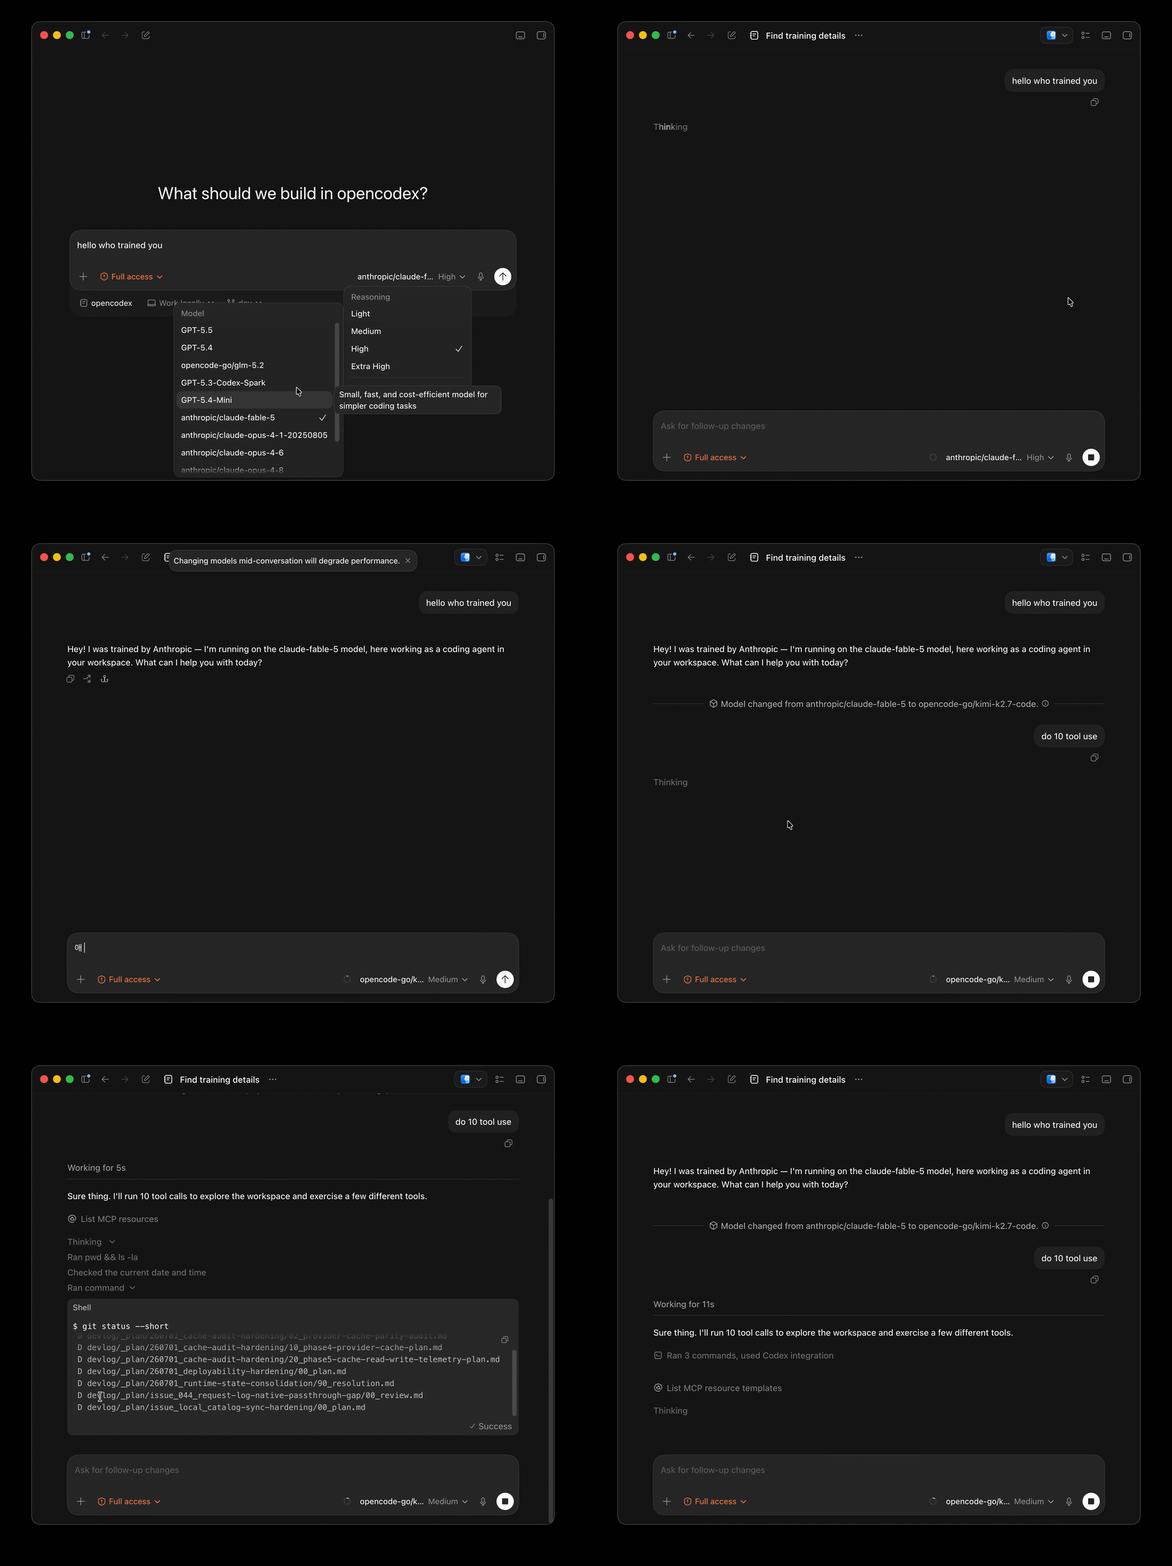
Universal provider proxy for OpenAI Codex & Claude Code — use any LLM (Claude, Gemini, Grok, DeepSeek, Ollama…) with Codex CLI, App, SDK, and Claude Code

Git-native persistent memory for AI coding agents. Implements Google OKF v0.2 with sub-300µs in-memory BM25 search, embedded MCP server, and progressive disclosure. Slashes token bloat by 80% with zero external databases or dependencies. Built in pure Go.

Local-first code intelligence graph for MCP and CLI. Builds a persistent map of your codebase so AI coding tools read only what matters, with benchmarked context reductions on reviews and large-repo workflows.

Stop your AI from making things up — it proposes, deterministic tools decide, every claim checked against ground truth with evidence. Grounded facts and context survive resets. Reverse engineering is the proving ground. MCP server + CLI.