

heygen-com/hyperframesFrameworks & SDKs
Write HTML. Render video. Built for agents.
49k
`rigup` packages agent skills, instructions, tools, and config as modular Nix riglets. A rig combines those riglets into a reproducible setup, and `rigup` can then show, inspect, build, shell into, or run that setup for supported agents.
Builders who want their agent setup to be reproducible, modular, and shared across projects.
You can reuse the same agent skills, tools, and prompts without hand-copying setup into every repo.
Each riglet bundles metadata, instructions, tools, and optional config as one unit.
Riglet docs can be loaded lazily, eagerly, or as a table of contents depending on the riglet.
Tools and their config are bundled with the riglet so the agent can use them correctly.
`rigup` generates a `RIG.md` manifest that shows what the agent should read at startup.
It can generate setup for Claude Code, OpenCode, Pi, Cursor, VS Code Copilot, and `copilot-cli`.
It can import Claude Marketplace skills and reuse them as riglets.
The CLI can show, inspect, build, shell into, and run rigs from local or remote flakes.
nix profile add github:YPares/rigup.nix#rigup
nix profile upgrade rigup
rigup new foo [-t minimal]
  # Use 'minimal' template for a project which should not define any local riglet

cd foo
rigup is a Nix-based system for packaging knowledge, instructions and skills for your AI agent with the tools and configuration needed to execute them.
A riglet is executable knowledge:
By combining the relevant riglets together, you build your agent's rig: the tools it needs to work on your project, and the operational knowledge it needs to use those tools properly and efficiently.
By default, the documentation of a riglet is lazily loaded (like Skills are): at startup your agent is fed a manifest, only showing for each riglet a quick description and a set of use cases.
It will then go on reading it when it needs to, or is prompted to.
However, rigup gives you more control than Skills traditionally do in terms of when your agent should be exposed to a riglet's content.
For instance, a fundamental riglet can be set to have an eager disclosure (forcing the agent to see the whole SKILL.md at startup), while another one can have a shallow-toc disclosure (the agent will see a table of contents of the riglet's main SKILL.md).
Besides, while Skills are necessarily fixed files, riglets' documentation files can be produced by any Nix derivation. It means the contents can also just be read from a raw file, or they can be defined programmatically, for instance by a bash script. This makes a riglet's doc file contents configurable in the same way this riglet's tools are. rigup's Nix library provides utilities to template your skills via minijinja to facilitate this use case.
rigup has a "knowledge-first" design: documentation is the payload, tools are dependencies. The "main entrance" to the rig will be the RIG.md manifest that rigup will generate for your AI agent to read, and through which it will discover all the available tools, knowledge and processes to follow.
In short, rigup is parametrable agent skills + lightweight home management for your agent, with a high-level of interoperability with Skills and Claude plugin marketplaces so reusing existing Skills as riglets or as basis for riglets is made as easy as possible.
First, install the rigup CLI tool:
nix profile add github:YPares/rigup.nix#rigup
NOTE: On older Nix versions, "add" is "install" instead.
If already installed, update with:
nix profile upgrade rigup
This CLI tool makes it easier to:
rigup show)rigup inspect)rigup run or just rigup) if the rig contains a riglet that provides an entrypoint. Entrypoints act as connectors, wrapping a harness executable to start it with the appropriate configrigup build)$PATH and $RIG_MANIFEST (path to the RIG.md) set up (rigup shell)(Note all these commands are just wrappers, provided for convenience, around the rigup Nix library. So you may still do everything with the usual nix {build,develop,run} commands if you prefer)
You can then create a new project from the templates provided by this repository, or even directly build the example rig defined here.
rigup)This project defines example riglets, and an example rig combining them.
# Show the riglets and rigs exposed by a remote flake
rigup show github:YPares/rigup.nix
# Show all metadata about riglets and each rig's contents
rigup show --detailed github:YPares/agent-skills  # A Skills repo that also packages them via rigup

# Directly build a rig from a remote flake
rigup build github:YPares/rigup.nix#example-rig # this builds <flake>#rigs.<system>.example-rig.home and outputs a symlink

# Directly open a rig from a remote flake in a subshell
rigup shell github:YPares/rigup.nix#example-rig

# Directly run a rig's entrypoint (if it has any)
rigup run github:YPares/agent-skills#claude-rig
  # Then in Claude Code: Ctrl+o to show details, to see the RIG.md manifest that Claude was prompted with via a startup hook
rigup run github:YPares/agent-skills#copilot-rig
  # Almost the same rig, but using `copilot-cli` as an entrypoint
Create it from one of the templates in this repo:
rigup new foo [-t minimal]
  # Use 'minimal' template for a project which should not define any local riglet

cd foo
This creates a ./foo folder, initializes it as a git repo, calls nix flake init to create a basic project structure with a flake.nix and example riglets and rigs, adds all the files to git tracking (important), and finally runs nix flake check on the result to make sure everything is in order.
# List available riglets from flake's self and inputs
rigup show --detailed --with-inputs

# Build your rig
rigup build ".#default"

# Explore the rig
cat .rigup/default/RIG.md

# Or open the rig as a sub-shell instead of creating a local symlink
rigup shell ".#default"
Edit riglets/*.nix and rigup.toml to customize the project.
The default template includes some example riglets and shows how rigup supports using a Claude Marketplace as a direct input, to import pre-existing Skills and use them as a basis for riglets.
This section covers the general workflow of defining and editing riglets and rigs.
Riglets are a simple use case of Nix modules.
Concretely, this means a riglet (in its most general form) is a (config, dependencies) -> data Nix function, where:
config is the final config of the rig which the riglet is part of,data is a dictionary-like structure ("attribute set" in Nix lingo) providing nested fields that will themselves contribute to the final aggregated configCreate a riglets/ folder at the root of your project.
Then add to it a <riglet-name>.nix file:
# riglets/my-riglet.nix

# First argument: the defining flake's `self` - gives access to:
#   - `self.inputs.*` for external package dependencies
#   - `self.riglets.*` for inter-riglet imports
# Just use `_` if you don't need it
self:

# Second argument: module args constructed by the _user_ of the riglet, when the full rig is built
# - config is the final aggregated config of the rig using my-riglet,
# - pkgs is your usual imported nixpkgs,
# - system is just pkgs.stdenv.hostPlatform.system, for quicker access
# - riglib is injected by rigup, and contains utility functions to build riglets
{ config, pkgs, system, riglib, ... }: {

  # (Optional) Which riglets to depend on (whether from self or input flakes)
  # If this riglet is included in a rig, ALL the riglets it imports will automatically be included as well
  imports = [
    self.riglets.foo
    self.inputs.aaa.riglets.bar
    ...
  ];

  # Each riglet must declare itself under config.riglets.<riglet-name>
  # <riglet-name> MUST be the SAME as the file name, minus the .nix extension
  config.riglets.my-riglet = {

    # (Optional) The tools needed by this riglet
    tools = [
      pkgs.mytool
      ./path/to/some/script.sh
    ];

    # The metadata that will enable your agent to know what this riglet
    # provides and when it should be consulted
    meta = {
      intent = "cookbook";
        # 'base', 'sourcebook', 'toolbox', 'cookbook', or 'playbook':
        # what should the agent expect from this riglet: general knowledge
        # that may come useful vs. highly specific procedure(s) to follow
      description = "What this provides";
      whenToUse = [
        "Need to know about X"
        "Want to achieve Y"
        "Have problems with Z"
        ...
      ];
      keywords = [ "search" "terms" ];
      status = "draft";
      version = "0.1.0";
    };

    # The Skill part of the riglet. It is a file hierarchy that should contain a
    # SKILL.md entry right under the root
    docs = riglib.writeFileTree {
      # Use inline strings...
      "SKILL.md" = ''
        # My Riglet Documentation

        ...

        For more advanced cases, see references/advanced-cases.md
      '';
      references = {
        # ...or local file paths...
        "advanced-cases.md" = ./path/to/advanced-cases.md;
        # ...or derivations that build a file
        "foo.md" = pkgs.writeText "foo.md" (mkFooContents x y z t);
      };
    };

    # Alternatively, if you already have a folder that follows the Agent Skill convention,
    # (SKILL.md at the top and references/*.md files), you can directly reuse it:
    #docs = ./path/to/skill/folder;

    # (Optional) The configuration that the tools should use.
    # This will go under `.config` in the final "home directory" of the rig, but only
    # for consultation purposes: tools are by default *wrapped* to see a XDG_CONFIG_HOME that
    # always points to this joint config folder. This way we can separate tools between those
    # that need custom config and those that will just "inherit" the pre-existing user config
    configFiles = riglib.writeFileTree {
      # Will generate `.config/mytool/config.toml`
      mytool."config.toml" = ''
        setting = "value"
      '';
    };

  };

}
...or just ask your agent to do it! :) rigup.nix comes with the riglet-creator riglet that teaches your agent to write riglets and... and, ahem, yes that's becoming very meta, sorry about that.
Just as with regular Agent Skills, the point of separating the docs into several files is to allow progressive disclosure. When using AI Agents, this is important because context is on a budget, and agents should not have to read more documentation than they need to complete a task.
Instead of riglets/<riglet-name>.nix, you can define your riglet as riglets/<riglet-name>/default.nix to add supporting files next to it:
riglets/
├── simple-riglet.nix          # Single-file riglet
└── complex-riglet/            # Directory-based riglet
    ├── default.nix            # Main riglet definition
    ├── SKILL.md               # Referenced in default.nix via ./SKILL.md
    └── references/
        └── advanced.md        # Referenced in default.nix via ./references/advanced.md
This is useful to break up a riglet into various Nix or raw text files to make it more manageable.
rigup will discover and treat both layouts identically.
If a riglet depends on another (for instance because it builds on its concepts or requires its tools or configuration), use imports with self.riglets.*:
# riglets/advanced-riglet.nix
self:
{ riglib, ... }: {
  # Import the base riglet - if both are added to a rig, evalModules deduplicates
  imports = [ self.riglets.base-riglet ];

  config.riglets.advanced-riglet = {
    # ...
  };
}
Important: Always use self.riglets.* for imports, never path-based imports like ./base-riglet.nix. The self.riglets.* form ensures proper deduplication when the same riglet is included both directly and via imports.
For dependencies on riglets from external flakes:
self:
{ riglib, ... }: {
  imports = [ self.inputs.other-flake.riglets.some-riglet ];
  # ...
}
Riglets can access packages from external flakes via self.inputs:
self:
{ pkgs, system, riglib, ... }: {
  config.riglets.my-riglet = {
    tools =
      let someFlakePkgs = self.inputs.some-flake.packages.${system};
      in [
        someFlakePkgs.default
        pkgs.git
      ];
  };
}
This lets riglets bundle their own dependencies without requiring consumers to know about them.
rigup.tomlDefine rigs in rigup.toml at the top of your project:
# Riglets to include in this rig, grouped by source
[rigs.default.riglets]
rigup = ["git-setup", "typst-reporter"]  # From the rigup flake input
self = ["my-local-riglet"]               # From your riglets/ folder

# Configuration for the riglets used in this rig
[rigs.default.config.agent.identity]
name = "Alice"  # This is used by both git-setup and typst-reporter example riglets
email = "alice@example.com"
Your flake.nix should be:
{
  inputs.rigup.url = "github:YPares/rigup.nix";

  outputs = { self, rigup, ... }@inputs:
    rigup {
      inherit inputs;
      # A unique name to identify your project in error messages :
      projectUri = "my-username/my-project";
      # Add this if you want your rigs and/or riglets to be built as part of `nix flake check` :
      #checkRigs = true;
      #checkRiglets = true;
    };
}
Finally, build the rig with:
rigup build ".#default"
...or enter it through a sub-shell with:
rigup shell ".#default"
NOTE: Just like nix build and nix develop target the "default" package or devShell when called without extra args, so do rigup build or rigup shell by targetting the rig named "default"
The riglets listed in your rigup.toml must match your flake inputs and what exists in your project. As a general case:
[rigs.my-rig.riglets]
some-flake = ["foo", "bar"]
means that your flake.nix has a some-flake input that exposes the riglets.foo and riglets.bar outputs.
self is just a special case of that, as every flake has an implicit self input which is the flake itself.
NOTE: The main reason to use a TOML file instead of always defining everything as Nix code is not just because TOML is (much) more well-known than Nix syntax. It is mainly because pure data (that can already cover a large set of use cases) is easier to manipulate via CLI tools than Nix code.
...that being said, building rigs directly in Nix (if you need the full Nix power to write your rig's configuration) is totally supported:
{
  inputs.nixpkgs.url = "github:NixOS/nixpkgs/nixpkgs-unstable";
  inputs.rigup.url = "github:YPares/rigup.nix";
  inputs.foo.url = "github:bar/foo";

  outputs = { self, rigup, nixpkgs, foo, ... }@inputs:
    let
      system = "x86_64-linux";
      pkgs = import nixpkgs { inherit system; };
    in
    pkgs.lib.recursiveUpdate  # merge both recursively, second arg taking precedence
      (rigup {
        inherit inputs;
        projectUri = "...";
      })
      {
        # Override or extend with custom rigs
        rigs.${system}.custom = rigup.lib.buildRig {
          inherit pkgs;
          modules = [
            self.riglets.aaa # Will use `$PROJECT_ROOT/riglets/{aaa.nix,aaa/default.nix}`
            foo.riglets.bbb  # Use external riglets defined by our inputs
            foo.riglets.ccc
            # Extra config is given in the form of a simple in-line Nix module,
            # with or without `{ config, pkgs, riglib, ... }` arguments
            {
              config = {
                # More advanced config, that e.g. requires direct access to some Nix functions,
                # or even takes the form of Nix functions:
                aaa-config.i-need-a-derivation = pkgs.someDerivationBuilder "..." "........";
                bbbModuleOpts.conditions.is-x-y-pair-valid = x: y: x * y <= 42.420000000000001;
              }
            }
          ];
        };
      };
}
IMPORTANT: This makes the rigup.toml entirely optional, but it is still necessary to use rigup { inherit inputs; ... } to construct your flake's outputs.
This is so rigup can discover which riglets are defined in your $PROJECT_ROOT/riglets/ and correctly set up the riglets output of your flake.
As the above suggests, you can totally mix both options: define some simple rigs in the rigup.toml and some advanced ones in Nix code.
Although, prefer splitting you rigs' definitions in separate Nix files rather than declaring everything in your flake.nix, the example above is just for the sake of concision.
You may have noticed that riglets are a bit richer but also stricter in terms of metadata than Skills.
This is to enforce a bit more rigidly some good documentation-writing practices, and to make critical information more upfront, both for agents reading a manifest and for humans browsing riglets provided by some source with rigup show.
This contributes to the final documentation's quality without being too constraining.
This is why, contrary to Skills:
intent: why it was written, what type of information it was meant to provide, what should one expect to gain when reading it.
This notably guides the writing process, and limits the risk of riglets becoming a mash-up of contextual info, general guidelines and specific processes.
Don't forget riglets can depend on one another: if some background knowledge is needed to specify some processes that an agent should follow, then rather than trying to conflate everything into one big mess, make a first sourcebook or toolbox riglet which can then be used as a dependency of subsequent playbook riglets.
This way, the background information is shared, and will always come along with the more critical knowledge.
Smaller, more focused riglets means more reusability.whenToUse), which is not conflated with its description. When a riglet should "activate", i.e. when an agent should consult and follow it, is probably the most critical piece of information about it, and thus warrants a dedicated fieldThis is notably useful when using agents to write riglets: they are not great at filling general fields like "description". They are better when their thinking is guided by a stricter schema.
But this enables riglets to perform things that Skills just cannot do:
meta.disclosure field is about.meta.status field is for. Agents, just like humans, can make much better decisions if they know how much trust they can put in an information source. It is always safer to progress on shaky ground when you know the ground is shaky.meta.intent = "base": this is for riglets that should remain transparent to the agent while still interacting with the rig, e.g. to provide tools or plain old JSON or TOML config files.
rigup enforces that these base riglets are NOT disclosed to the agent.
This notably enables the most important tool of the rig, the agent's harness, to be expressed, packaged and used just like any other part of the rig.entrypoint derivation. rigup will generate config for:
cursor-agentcopilot-cli (although copilot-cli does not allow custom prompt commands, and MCP servers can only be set in user's config for now)mcpServers: riglets can define MCP servers, both HTTP and command-basedpromptCommands: riglets can define custom "slash commands" (prompt templates)rigup.toml for CLI-manageable rigs. Riglets from riglets/ automatically exposedagent-rig-system, riglet-creator, and nix-module-system teach agents how the system works — so they can help you write Nix and extend your rig. Learn Nix as a side effect, with AI assistance.openskills: Universal Skill loader, following Claude Skills system and manifestllm-agents.nix: Numtide's flake packaging AI coding agents and development toolsagent-skills-nix: Nix lib to discover and bundle skills, with home-manager integrationMIT
Built with Nix • Formatting: nixfmt-rfc-style • Uses blueprint
Sign in to join the discussion.
No comments yet. Be the first to say what this is good for.
Write HTML. Render video. Built for agents.
Ultra-lightweight, open-source, self-hosted personal AI agent framework in Python with WebUI, tools, memory, MCP, multi-agent workflows, automation, and chat apps

SkillOpt is a text-space optimizer that trains reusable natural-language skills for frozen LLM agents through trajectory-driven edits, validation-gated updates, and deployable best_skill.md artifacts.
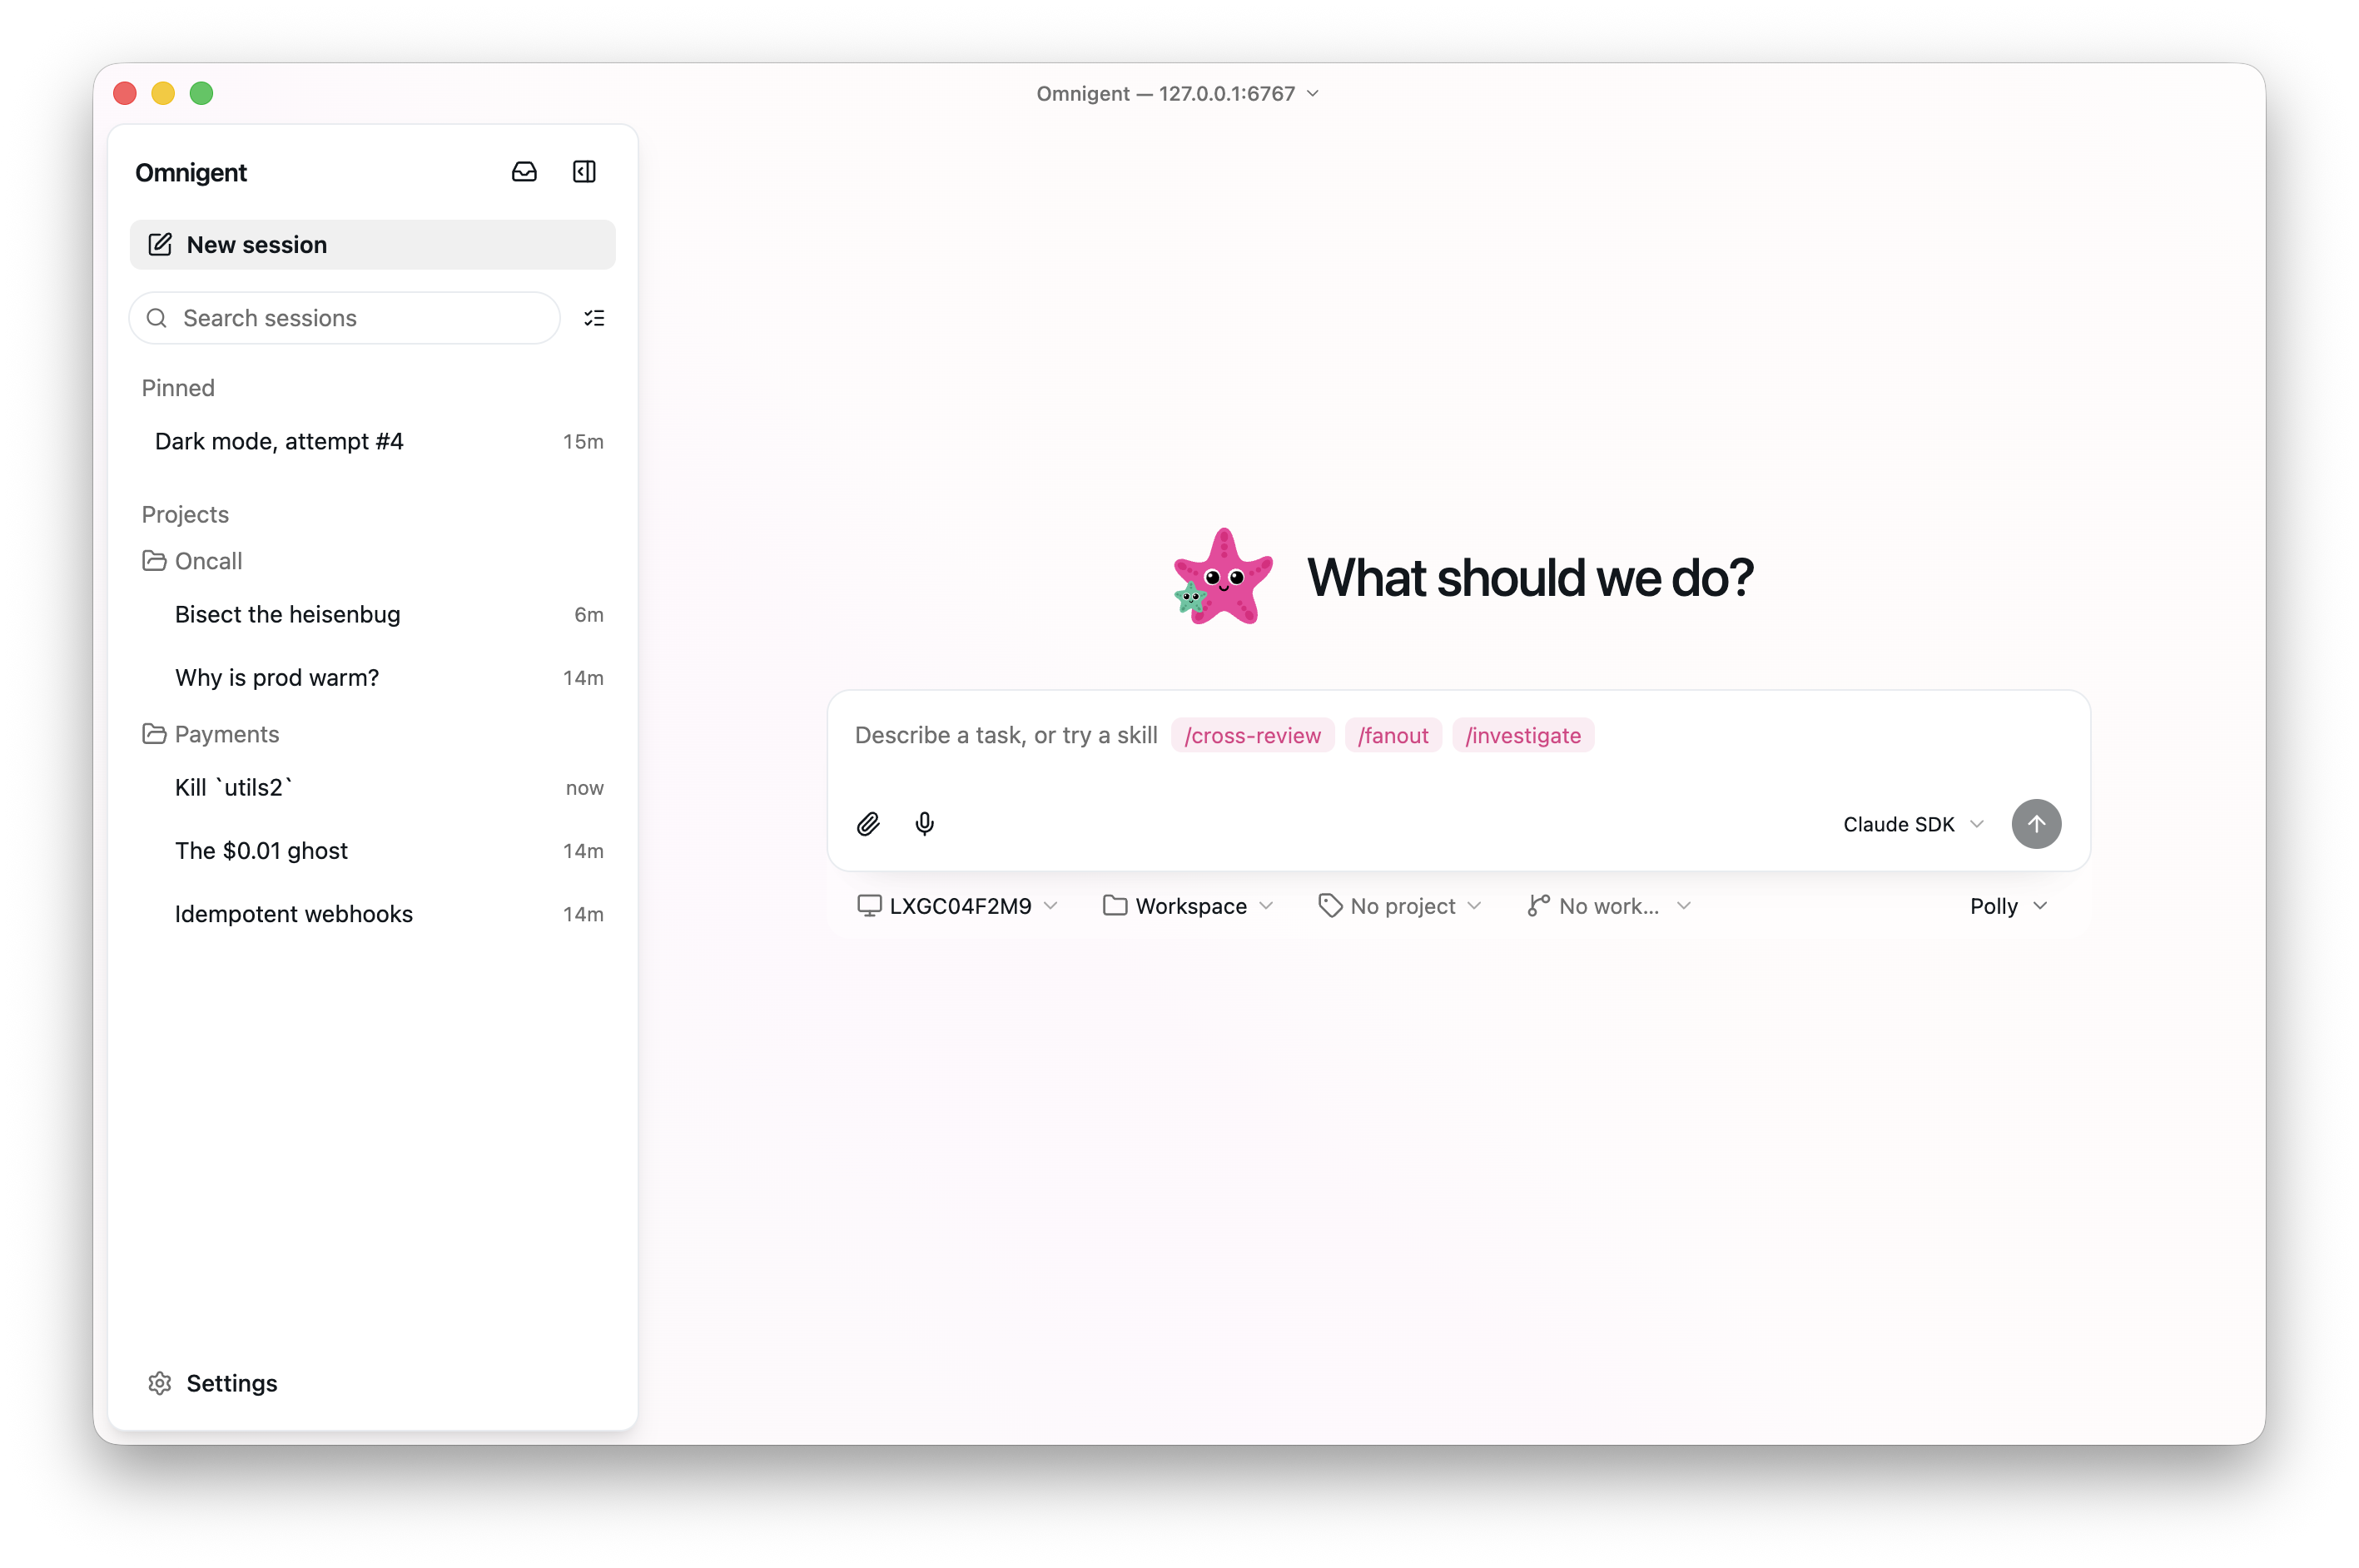
Omnigent is an open-source AI agent framework and meta-harness: orchestrate Claude Code, Codex, Cursor, Pi, and custom agents — swap harnesses without rewriting, enforce policies and sandboxing, and collaborate in real time from any device.

A theoretical reconstruction of the Claude Mythos architecture, built from first principles using the available research literature.
🕷️ An adaptive Web Scraping framework that handles everything from a single request to a full-scale crawl!